First, T.R.E. and Junior Redneck Engineer (J.R.E.) sketched out a multi-plane design with a rough idea of how they wanted it to look:

With an idea in mind, we headed over to the bandsaw and rough cut the edges of the design they sketched out. A flat file was used to file out the saw marks left by the bandsaw so we had a good, even surface to start with. After the file work was done, I thought that the best way to cut the rounded fins in the back would be on the router table. I set up a core box bit (which, to date, I’ve only used to put grooves in trim) and made two easy passes for the fins. Pine is a very workable, soft wood that doesn’t really give you any problems. Just a little more file work to blend in the cuts on the router table, and we are left with this for a rough cut pinewood derby block:

From this point on, it was an arduous task of sculpting, filing, and sanding. And then, more sculpting, filing, and sanding. And…after that….more sculpting, filing and sanding. To do the sculpting, we hogged the material out with a conical cutting bit that I purchased at one of the big box stores in the dremel tool section. I sure am glad we brewed a pot of Terlingua Blend coffee from Ivey’s Emporium out in West Texas beforehand (what a great website they have, too! *grin*). If you’ve never had their coffee, and get the opportunity to try it, do it! One cup and the world will feel all together again for a while. Anyway, back to the pinewood derby car. After all of the sculpting, we were roughly finished with the shaping of the car:

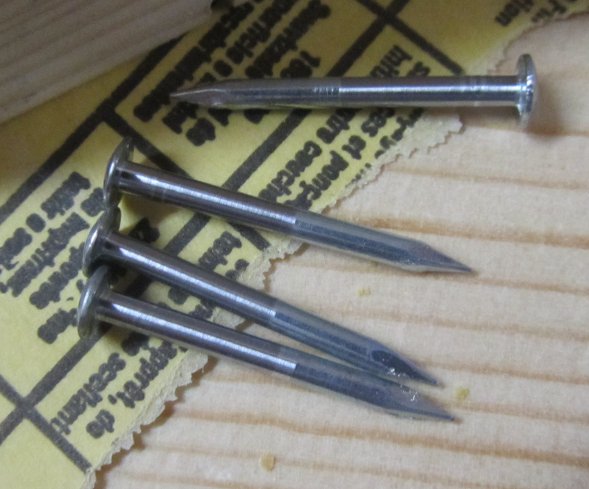
Not bad for handwork and a Dremel tool, but T.R.E. and I both agree: We would kill for a CNC wood mill for things like this! One final thing we did before I turned T.R.E. and J.R.E. loose: we polished the axles (err, nails rather) by chucking them up in the drill press. The reason we ran the drill press is to avoid getting flat spots in the axles, because, well, a wheel that turns without issue is kind of the whole point. It didn’t take much. We just used a piece of 600 grit sandpaper to knock the burrs off and smooth the axle, and then burnished it to make it a little smoother with a piece of cardboard. Here’s a nice close up of the polished axles:

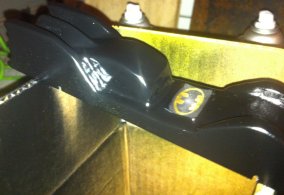
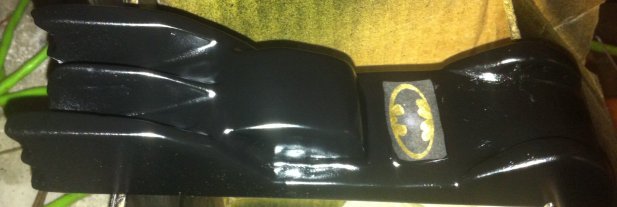
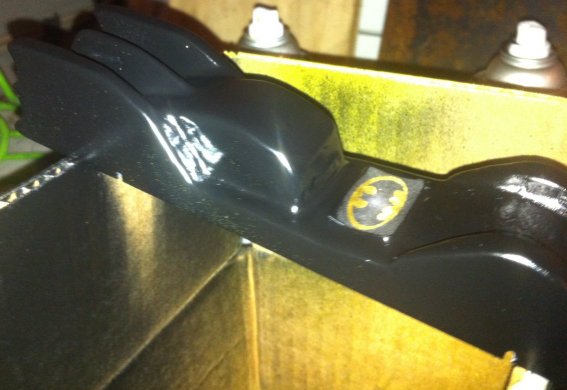
As you might imagine, the wheels spin MUCH smoother now! After we roughed everything out and everyone returned home, the batmobile was painted a few days later, after some final sanding in some key spots we had missed. The result looks absolutely incredible, and I hope you will agree:
Well, see ya next time. Things are settling down for me, and I should be blogging in more of a regular fashion now. I don’t know if everyone is looking forward to that, or mumbling obscenities under their breath about a mans obsession over gas station hot dogs, but I tend to enjoy it!


What did you use for weights, and where did you put them?
I love the batmobile you designed. I am a 69 year old wife/mother/grandmother who is entering her second adult contest. Last year I won 3rd place in speed and first in design. My car was called Firebird. I am going for a batmobile this year.